The Flatlay Styles I Can’t Get Enough Of…
The flatlay isn’t just about laying props flat and taking a photo from a height. No. Far from it. If you read my previous post on How to Create the Perfect Flatlay, it’s about the theme, the colours, the mood and setting a scene against backdrops as well as being creative with product placement and the props you use. There’s no limit as to how creative you can be which is why it’s the most popular style for blog, Instagram and pin-worthy images. My biggest source of inspiration comes from these very sources and over time there’s some flatlay styles that I’ve come to particularly love and gravitate towards the most. Some may even call them a cliche, but I say who cares!So, with my own stamp on it of course, I’m sharing 3 of my favourite flatlay styles. If you haven’t done so already, I’d highly recommend you read my post on How to Create the Perfect Flatlay first as this post helps put those tips into practice.
The Abundant Flatlay
Ever since I was told I have an abundant style when it comes to my photography, I’ve adopted the term. I think it sums me up perfectly. I like a bit of everything when it comes to taking photos. However, the simplistic approach is something I’ve always struggled with but do want to master.
When I’m doing a post that covers several products, like a makeup edit for instance, I’ll have at least one “abundant flatlay”and often as my featured image. It’s essentially that image that captures all your products (or at least most of them), providing readers with a visual snapshot of basically everything. To be honest though, even if I’m only featuring one or two hero products, I’ll adopt the abundant style, filling out spaces with props and really play into a theme.
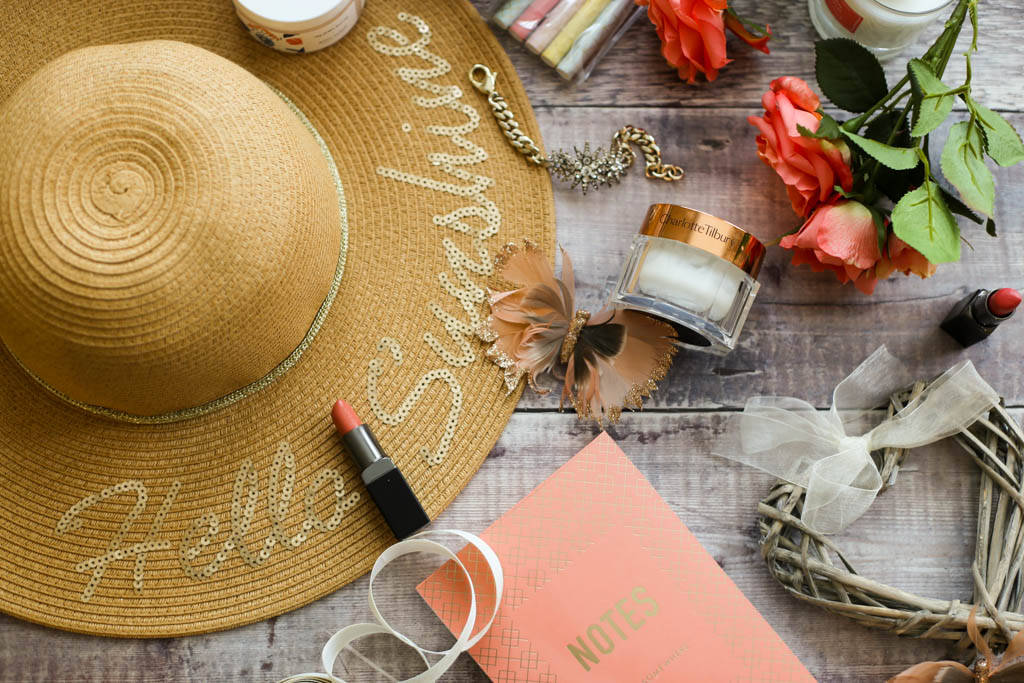
The best way to describe it is a staged mess. That scattered look with prop placement and composition is really key here. Go overboard though and this is the sort of flatlay style that can look too busy. So to avoid this make sure you still leave blank spaces between props. Placing props at different angles helps too.
Remember, however, that your camera needs something to focus on, so you’ll need to place some props in and towards the centre.
The flatlay on the left is from my July 2017 Favourites. First off all, see how I’ve played with the summer theme here including a summer hat and the wooden backdrop? The hat is quite large so placing it at angle in the corner meant it didn’t overpower the scene and I then just scattered my beauty and lifestyle favourites around it. Not everything is fully visible and I’ve got some props standing upright as well as flat to add character and depth.
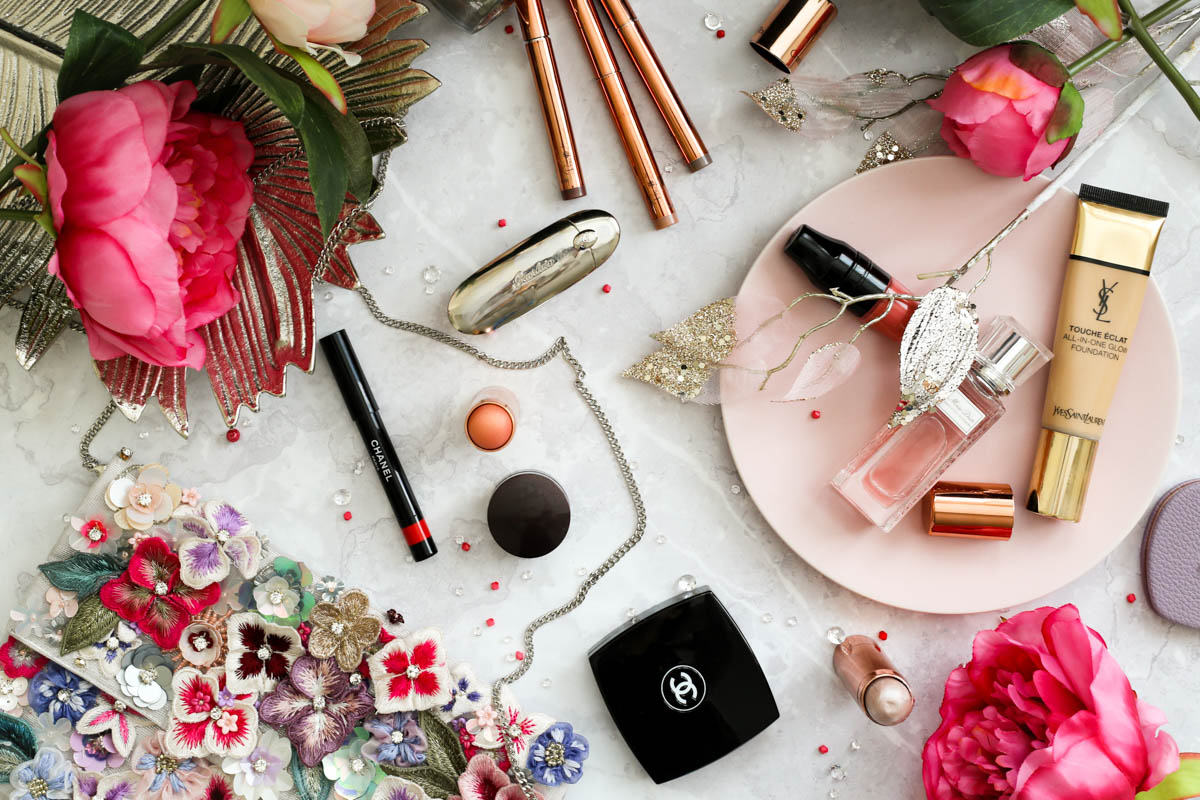
Although this one of those flatlay styles where you need to get the balance between keeping and filling those blank spaces, I find using prop fillers like scattered gems or confetti really helps. A bit like in the example below. It comes down to personal preference but it’s my preferred option when adding more props can look too overbearing.
Here, I’ve scattered my key props throughout the scene and kept some around the middle, remembering that the camera always needs a central focal point. I’ve also played into the colours of the handbag by using similar coloured faux-flowers and I think the pops of colour help lift the image.
Have Fun With the Abundant Flatlay Style
The great thing about the abundant flatlay is that you can be as creative as you want – it’s not as restrictive as other flatlay styles. Play around with placement and angles as well as how much space you want to keep free.
The On The Bed Flatlay
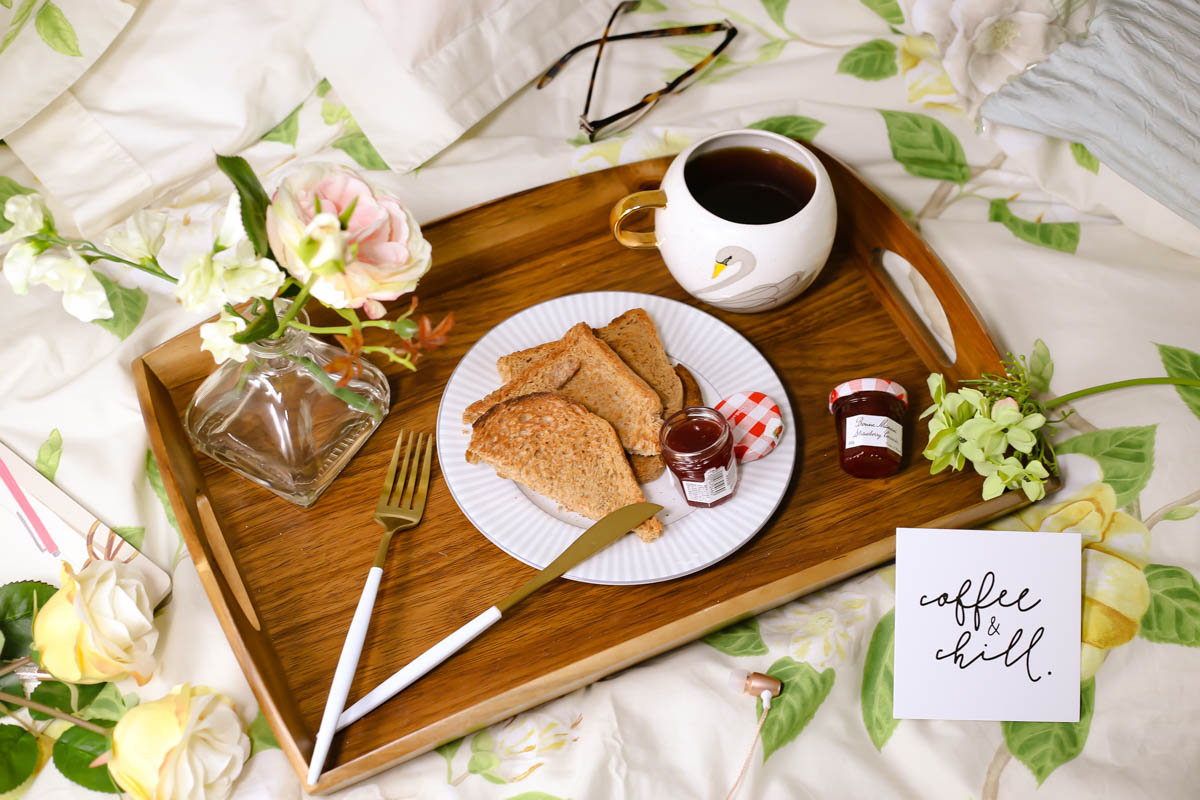
There’s just something about those bed styled flatlays. No doubt the breakfast trays, coffee mug and laptop on bed situation is done to death on Instagram and blogs but it doesn’t stop me loving it.
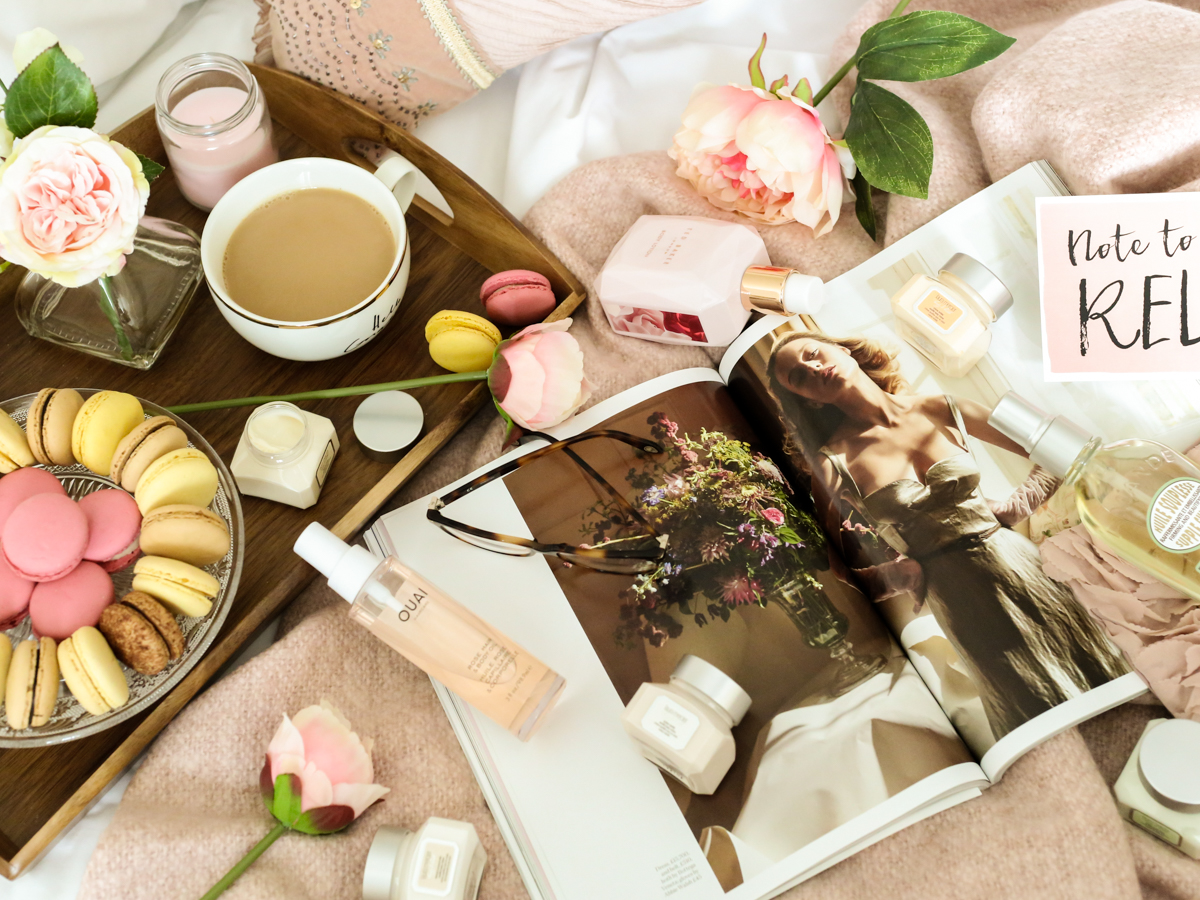
I think this type of flatlay works best with ruffled and creased bedsheets and it’s all about depicting that perfect, real-life scene (well, at least what I aspire to)! Since I don’t have a tripod with an extendable arm, I tend to shoot at the corner of my bed and bring things like pillows forward to recreate the top of the bed. This is exactly what I did in one of my favourite flatlays below. I was lucky that day as there was plenty of sunshine and I chose not to use any boards or reflectors to even out the light; I felt that the light from the window looking harsher in some places than it did in others mimicked a sunny morning.
This photo was for a post on How I Relax With My Favourite Body Lotions & Body Oils, which have been strategically placed into the scene. Cushions, throws, trays and of course that all important coffee mug really help depict that “this is how I live” scene.
Be As Pretentious Or As Simplistic As You Want
I love going to town with food displays. But even just one or two items on the bed can work just as well. My other favourite props for this flatlay style is laptops, glasses and books. Whatever your style, it still needs to look like you took it on the bed, otherwise it stops being an on the bed flatlay.
The Neatly Laid Flatlay
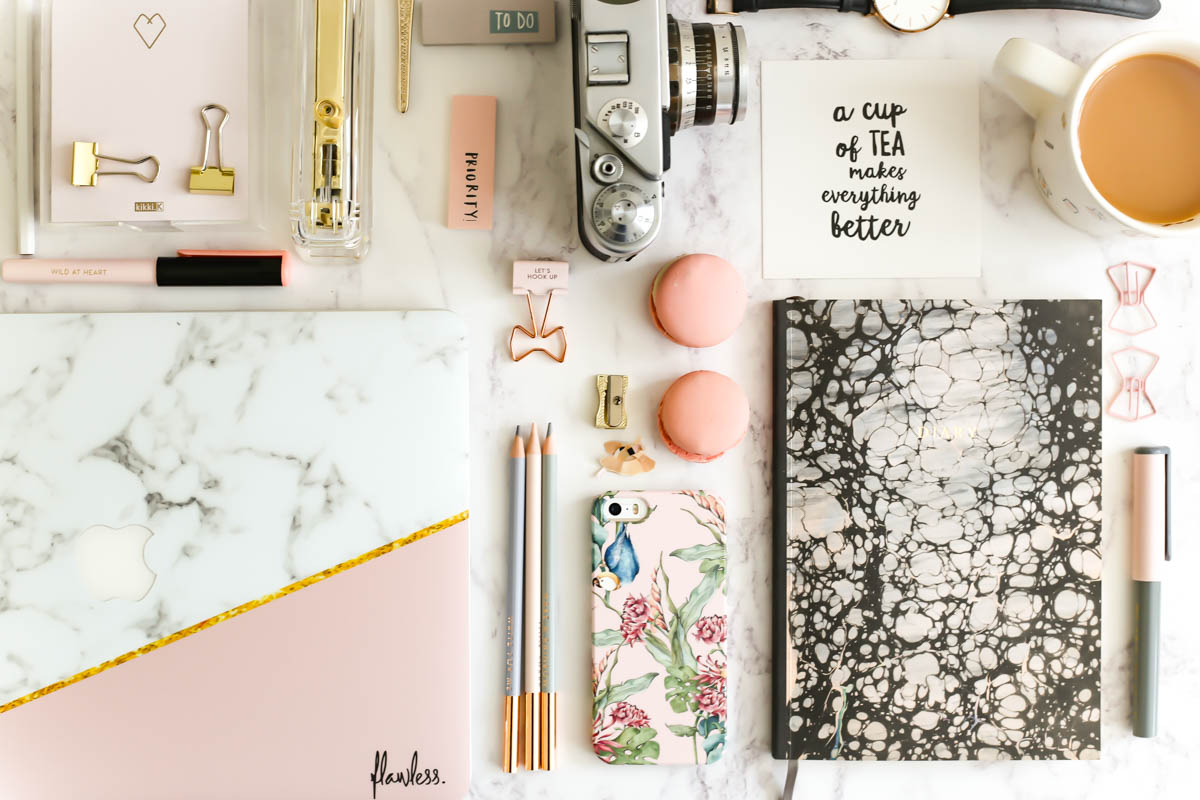
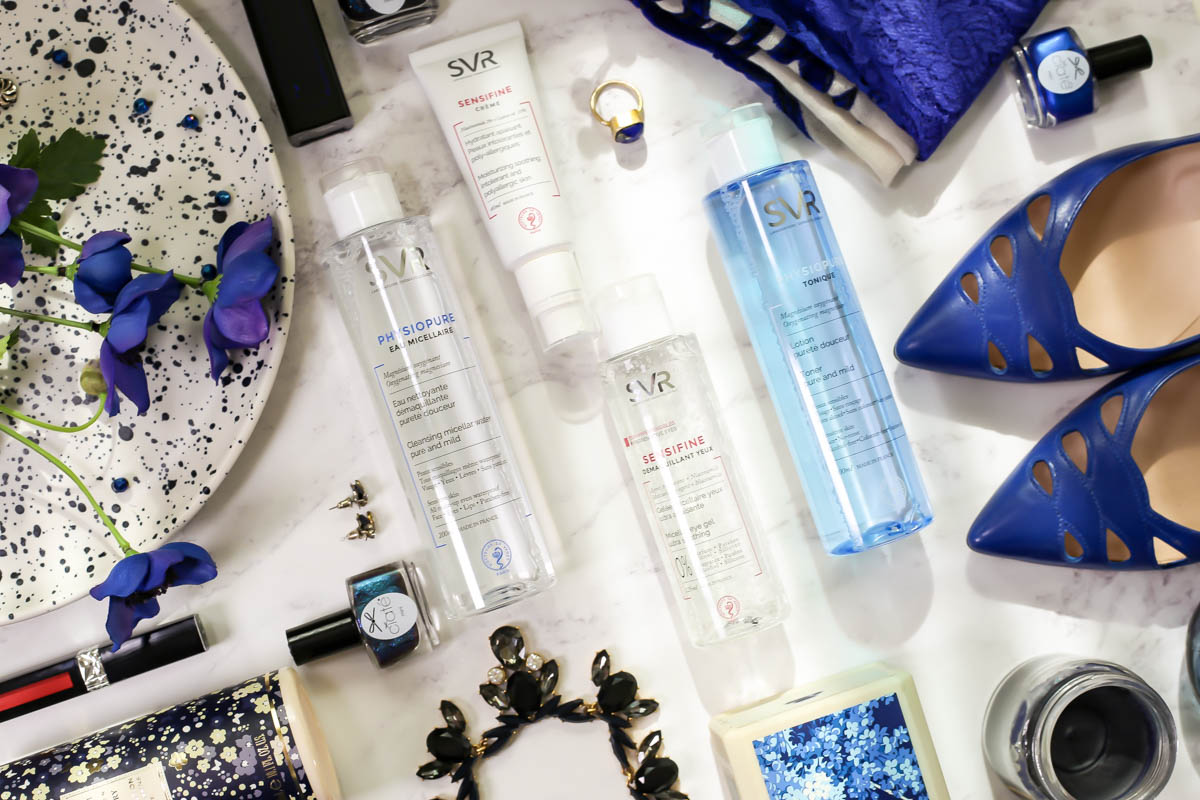
This type of flatlay has the capacity to give me joy and frustrate me at the same time. Nevertheless, there’s a huge satisfaction in laying out all of your props in a neat fashion. Again, it’s great to have a theme and a cohesive colour scheme often works well.
Keeping this flatlay style balanced is very important. To do this, playing around with props of different shapes and sizes and the angles at which you place your props (i.e. diagonal, horizontal and vertical) helps. The beauty of this flatlay style is that there’s no real technical skill involved other than a heap of patience.
Remember, if you are shooting for Instagram, you may want to shoot this type of flatlay in square to ensure you get all of your props in the scene. It also helps if your camera is as flat as possible to avoid that distorted lens look and make sure you leave enough space between each item.
Try Shooting at an Angle
Although many shoot this flatlay style straight, shooting at an angle is another great variation to this flatlay style and something I often like to do.
So these are my favourite flatlay styles and whilst I love changing things up, I definitely seem to gravitate towards these the most. But what about you….what are your favourite flatlay styles? I’d love to know. x


